Apple pay transfers (complete 2023 guide)
Are you interested in using Apple Pay for transfers and payments to friends, family, or merchants? With Apple Pay, money can be sent and received quickly and securely from several sources, including banks and the Apple Cash Card.

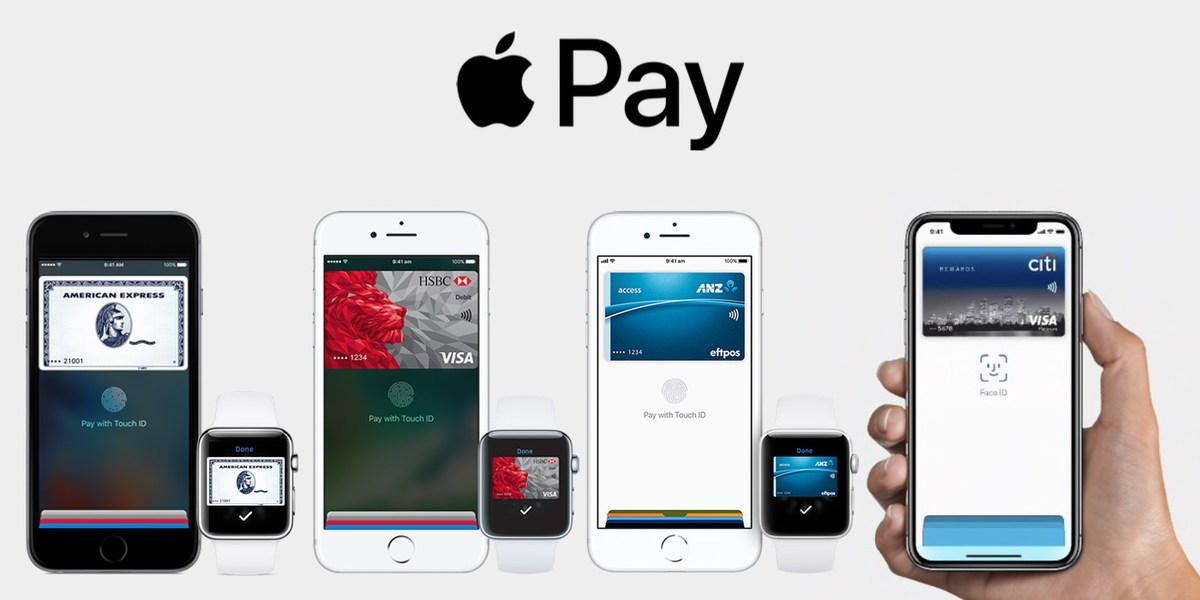
Apple Pay is a mobile payment service that debuted in 2014 and has revolutionized how people make purchases from their favorite stores. Since then, it has rolled out increasingly sophisticated features allowing users to pay for goods and services with their iPhones, iPads, Macs, Apple Watches, and MacBooks.
One of its more recent features is enabling users to send money to each other using Apple Pay transfers.This guide will provide a detailed overview of the ins and outs of sending or receiving money with Apple Pay transfers so you’ll have everything you need to get started.
We’ll discuss the various sources that are compatible with the service, how long transactions take to process, security measures taken by the company, fees associated with sending money internationally or domestically via bank transfer or other methods — all without leaving your home.
How to transfer money to your bank or eligible debit card
Transferring money from Apple Cash to your bank or eligible debit card is easy and convenient. To begin, open the Wallet app on your iPhone or iPad and select the Apple Cash card. Tap the “Transfer to Bank” option in the upper right-hand corner of the screen, then enter the amount you wish to transfer.
If you’d like to transfer instantly3, select “Instant Transfer” and provide your eligible Mastercard or Visa debit card information. Your funds will arrive in minutes3. If you prefer a standard bank transfer, simply choose “Bank Transfer” as your payment method and enter your bank account information. The funds will be transferred within 1-3 days1.
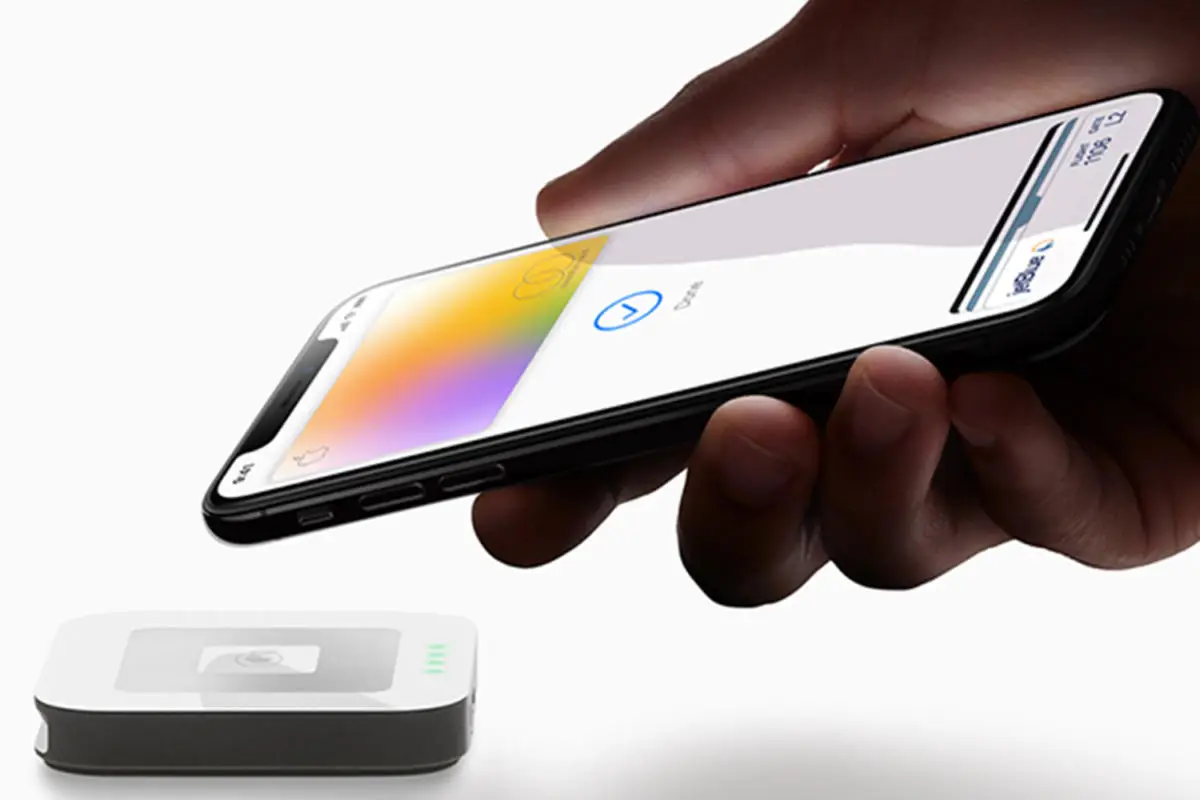
You can also use Apple Pay to send money to an individual in Messages or Wallet. All you need is their phone number or email address associated with their Apple ID. Just tap “Send Money” in a conversation thread and enter the amount of money you want to send, then review and confirm before sending it off!
Transfer instantly to an eligible debit card
Transferring money from Apple Cash to your eligible debit card is a fast and easy process. Start by opening the Wallet app on your iPhone or iPad and selecting the Apple Cash card. Then, tap “Transfer to Bank” in the upper right-hand corner of the screen and enter the amount you wish to transfer.
To transfer your funds instantly3, select “Instant Transfer” and provide your eligible Mastercard or Visa debit card information. Your funds will arrive in minutes3! All you need is your debit card number and expiration date to complete the transaction quickly.
Once you’ve completed your transfer, you can view it in the Wallet app’s activity page. This page also shows any recent transfers made with Apple Pay, so if you want to keep track of all your payments at once, this is a great way to do it! So why wait? Transfer money instantly3 today and take advantage of Apple’s convenient payment services!
Transfer in 1 to 3 business days to a bank account
Transferring money from Apple Cash to your bank account in 1-3 business days is a great way to manage your finances. To begin, open the Wallet app on your iPhone or iPad and select the Apple Cash card. Then, tap “Transfer to Bank” in the upper right-hand corner of the screen and enter an amount. Select “1-3 Business Days” as the transfer option, followed by the account you’d like to send funds to.
Once you’ve completed your transfer, you can view it in the Wallet app’s activity page. This page also shows any recent transfers made with Apple Pay, so if you want to keep track of all your payments at once, this is a great way to do it! You can also check with your bank for details about when your transfer will arrive.
Apple Pay makes transferring money quickly and securely easier than ever before. With just a few clicks, you can send money directly from your Apple Cash account into a bank account of your choice. So why wait? Get started today and start managing your finances better with Apple Pay!
If you’re under 18 years old and part of Apple Cash Family
If you’re under 18 years old and part of Apple Cash Family, you can transfer funds from your Apple Cash account to a bank account or an eligible debit card. To start the transfer, open the Wallet app on your iPhone or iPad and select the Apple Cash card. Then, tap “Transfer to Bank” in the upper right-hand corner of the screen and enter an amount. Select either “1-3 Business Days” or “Instant Transfer” as the transfer option, followed by the account you’d like to send funds to.
When sending money with 1-3 Business Days, it will take 1-3 days for your transfer to arrive in your bank account. If you choose Instant Transfer, money will arrive within 30 minutes of when you initiate the transfer. After completing your transfer, you can view it in the Wallet app’s activity page where recent transfers made with Apple Pay are also shown.
You can also check with your bank for details about when your transfer will arrive. With Apple Pay Family transfers, getting money quickly and securely is easier than ever before! So why wait? Get started today and start managing your finances better with Apple Pay!
How to update your bank account information
If you need to update your bank information in Apple Pay, the process is quick and easy. To start, open the Wallet app on your iPhone or iPad and select the Apple Cash card. Then, tap the “Bank Account” option and enter your updated banking information. You can also delete your existing banking information by tapping “Delete Bank Account Information”.
When you update your information on one device, it will automatically sync with all of the devices that are linked to your Apple ID. It’s important to double-check that all of the numbers you enter are correct before exiting out of the page as incorrect numbers could lead to delays in processing transfers.
Once completed, you should receive a confirmation message letting you know that your new banking information has been successfully updated in Apple Pay. With this easy-to-follow guide, updating your bank account info is quick and seamless!
About transfer limits
When it comes to Apple Pay transfers, there are some limits you should be aware of. Each transfer is limited to $10,000 and the total amount of money that can be transferred within a seven-day period is capped at $20,000. Additionally, there are restrictions as to where you can send your funds—only bank accounts in the United States can be used as the destination for transfers.
Additionally, you may incur a fee if you use an Instant Transfer option to get your money into your bank account right away. Make sure that you check all fees associated with different transfer methods before sending money.
Finally, it’s important to keep an eye on account limits and person-to-person payment limits so that you don’t exceed any of the predetermined amounts set by Apple Pay. By understanding these restrictions and taking steps to stay within them, you can ensure that your transfers go smoothly every time.
How to find your bank account number or routing number
If you’re setting up Apple Pay for the first time, you’ll need to provide your bank account and routing numbers in order to make transfers. If you have a check handy, finding this information is easy: the account number is located at the bottom of the check, while the routing number is in the bottom left-hand corner.
If you don’t have a check on hand, no problem! You can call your bank or use their online banking portal to find this information. Many banks also offer a mobile app where you can easily locate your account and routing numbers. Once you’ve found your numbers, simply enter them into Apple Pay and you’ll be ready to transfer funds!
If you didn’t receive your transfer
If you’ve sent a transfer through Apple Pay and it hasn’t shown up in your bank account after the expected time, there are a few things you can do. First, check your bank statement to make sure the transfer was processed and deposited. Keep in mind that transfers aren’t deposited on weekends or bank holidays, so if one of those has recently passed, wait until the next business day to check your statement.
If the transfer still isn’t in your account after 3 business days (for 1-3 business day transfers) or 2 hours (for Instant Transfers), contact Apple Support for help. They’ll be able to look into why the transfer hasn’t gone through yet and what steps need to be taken to get it resolved. Additionally, if you think you entered an incorrect account or routing number when setting up the transfer, Apple Support can also help with that as well.
If you can’t transfer money
If you’re unable to transfer money through Apple Pay, there are a few things you can check first. Make sure that your device is eligible for use with Apple Pay, and that you have a strong Wi-Fi or cellular connection. Also, make sure that you’ve added an eligible United States bank account if you’re sending 1-3 business day transfers, and that the account and routing numbers were entered correctly.
Finally, if you think you may have sent the transfer to an incorrect bank account, contact Apple Support as soon as possible so they can help with the issue. If none of these steps solve the problem, contact Apple Support for further assistance.